You will need three tools to host your app
- Heroku existing account if don’t have just go and signUp it’s completely free.
- You have git version control system installed in your local machine.
- You have to setup Heroku CLI.
After the signup process, you will find Heroku docs
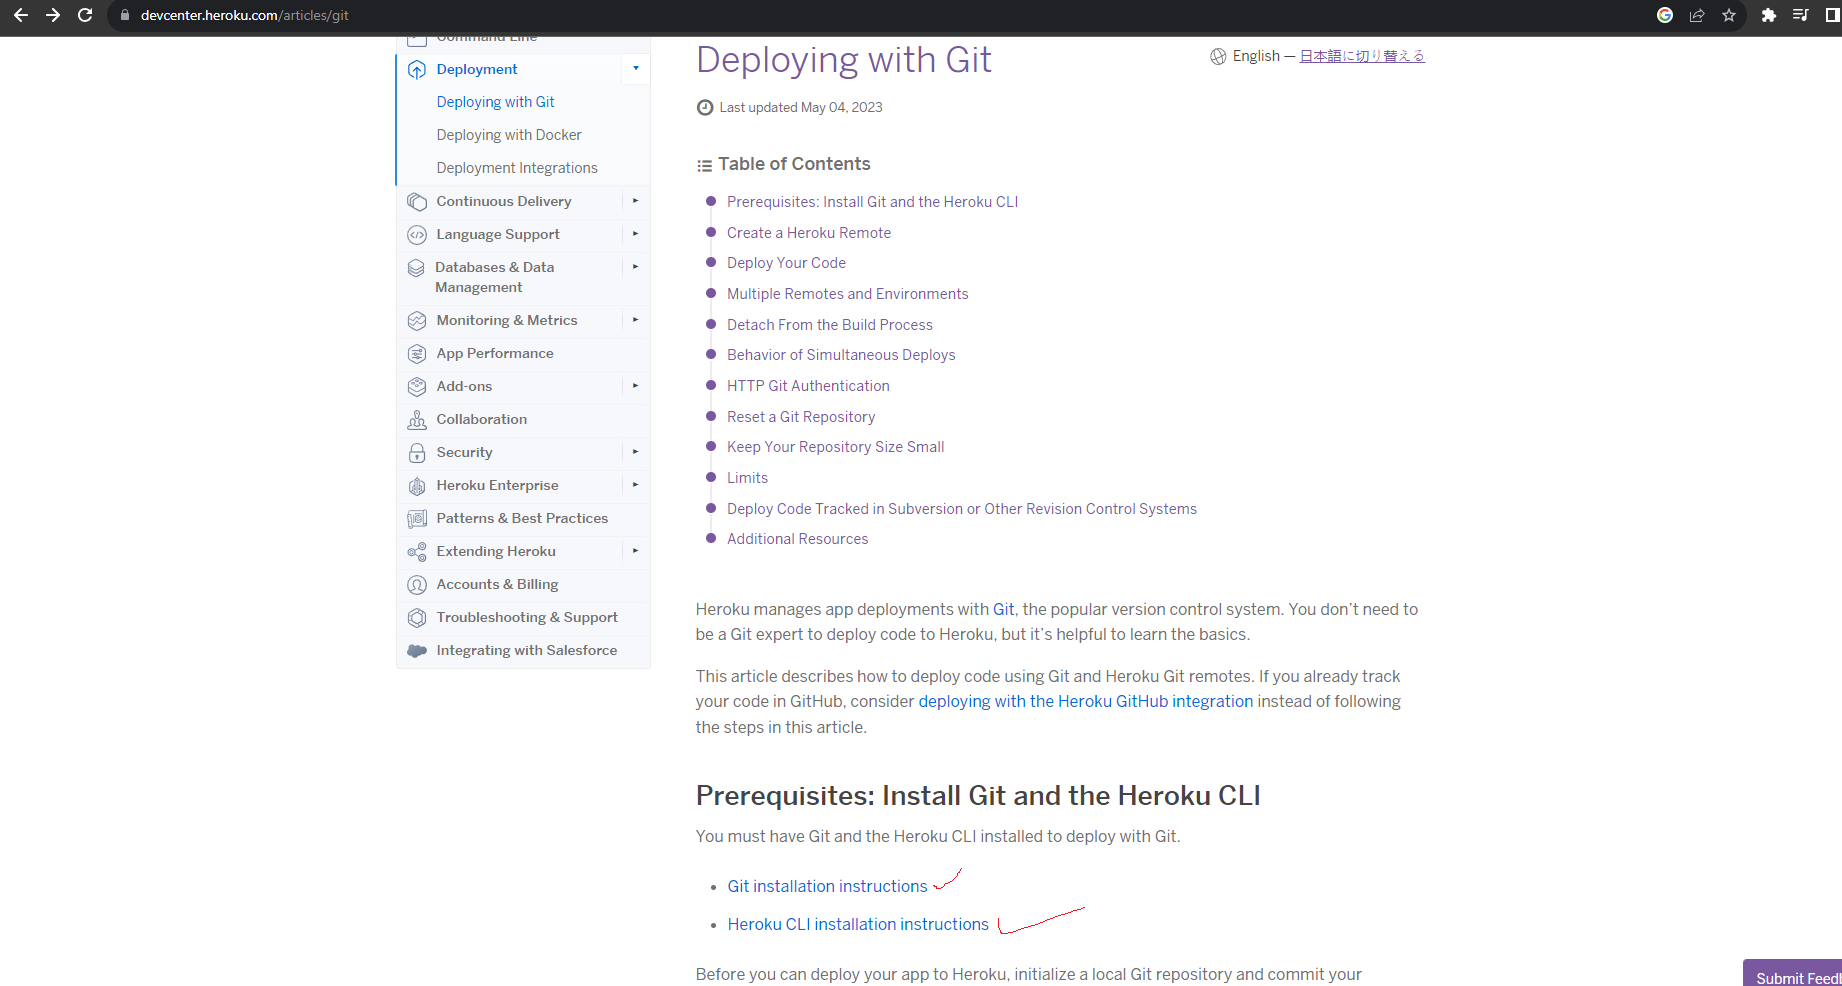
Click Heroku CLI installation instructions, if you have not installed the git then you can install git as well.
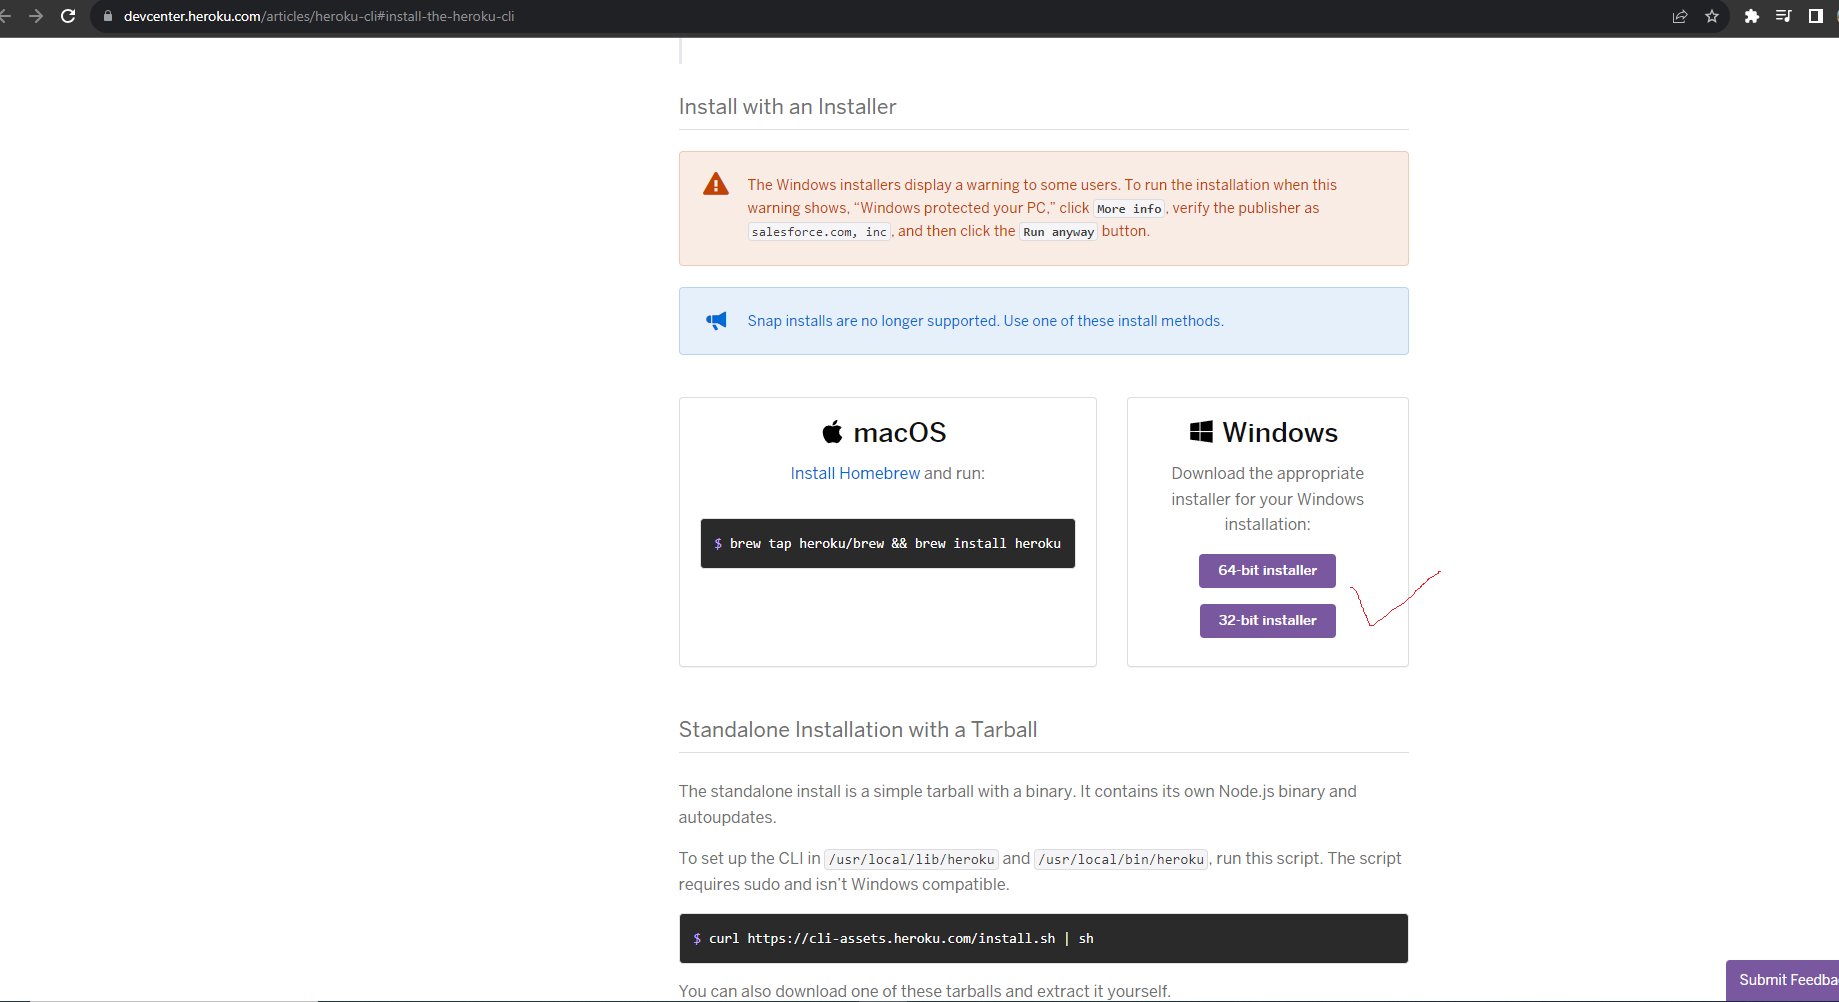
Choose your operating system bit and hit the installer

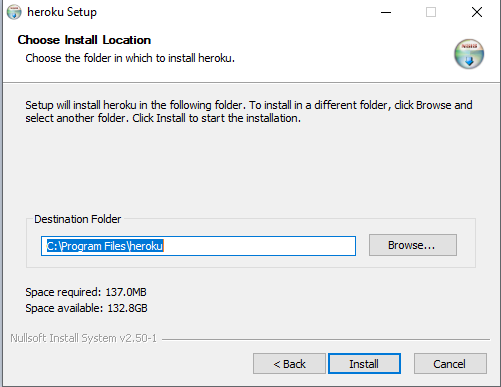

Follow the top three steps to setup the Heroku CLI in your local machine

after completing that just type Heroku -v on your CMD. You will see the version that means the Heroku CLI setup successfully
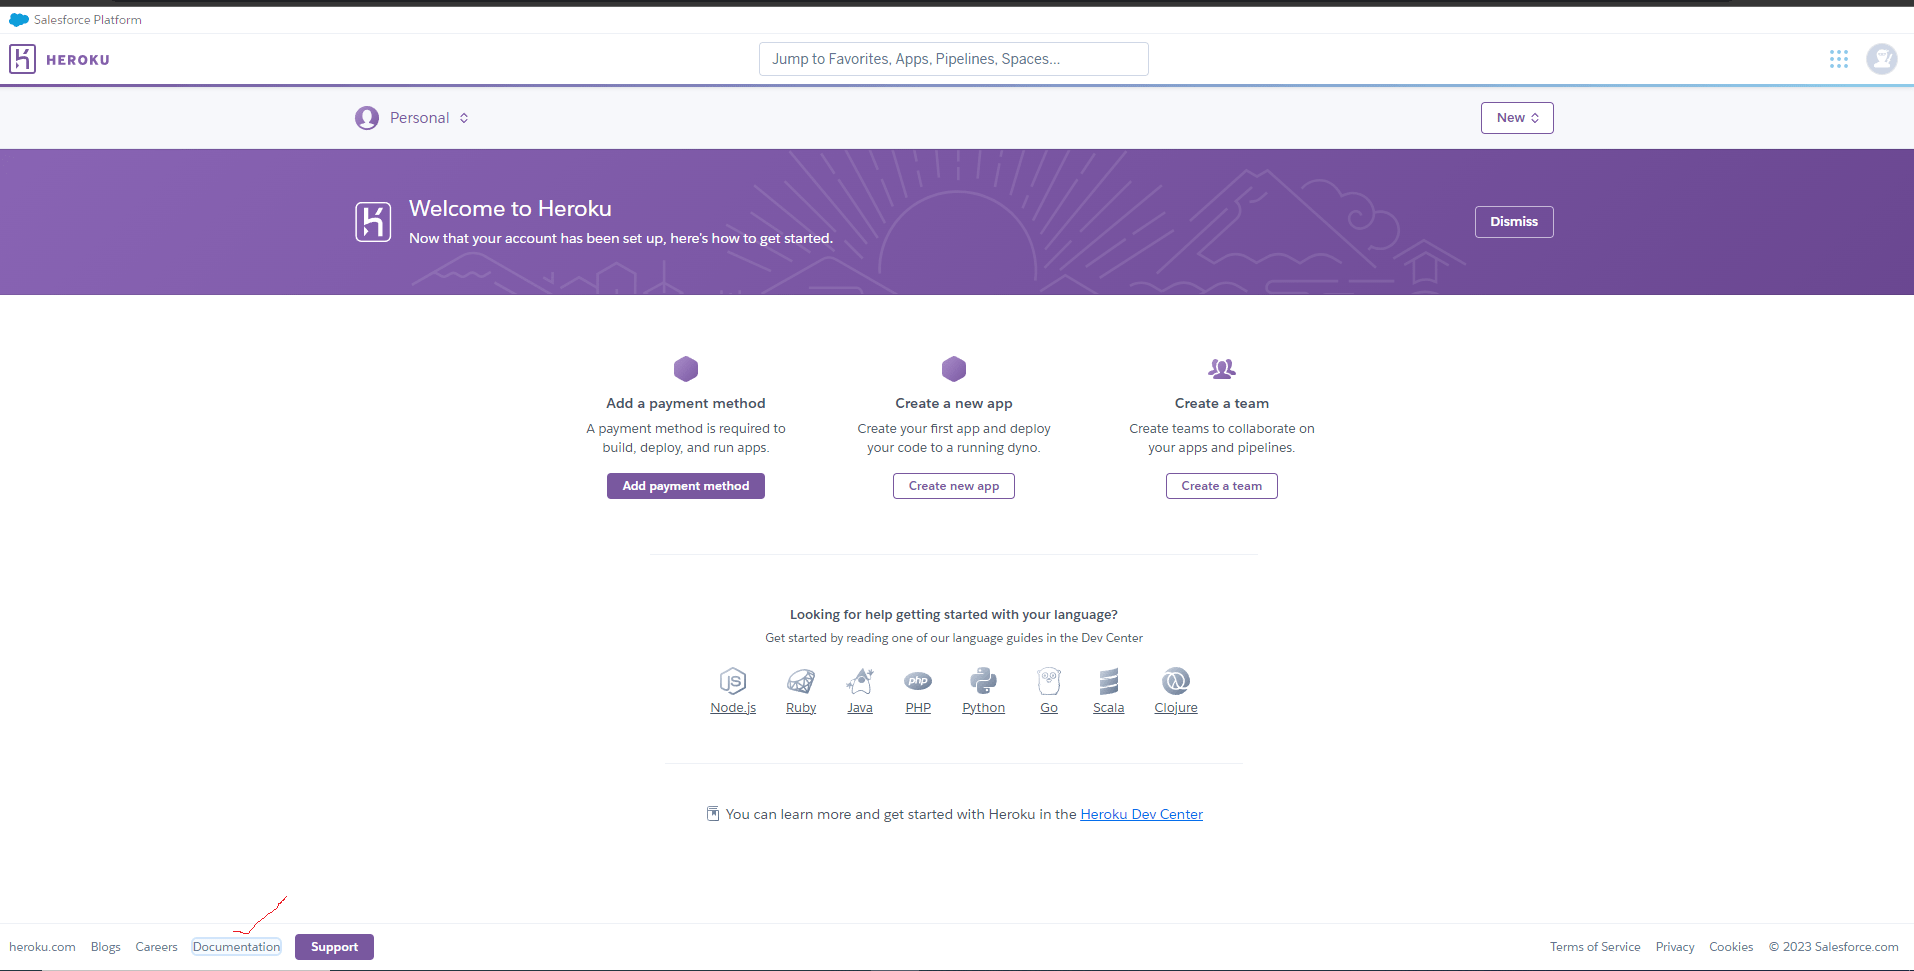
After installing go to Heroku dashboard at the bottom and click on the documentation
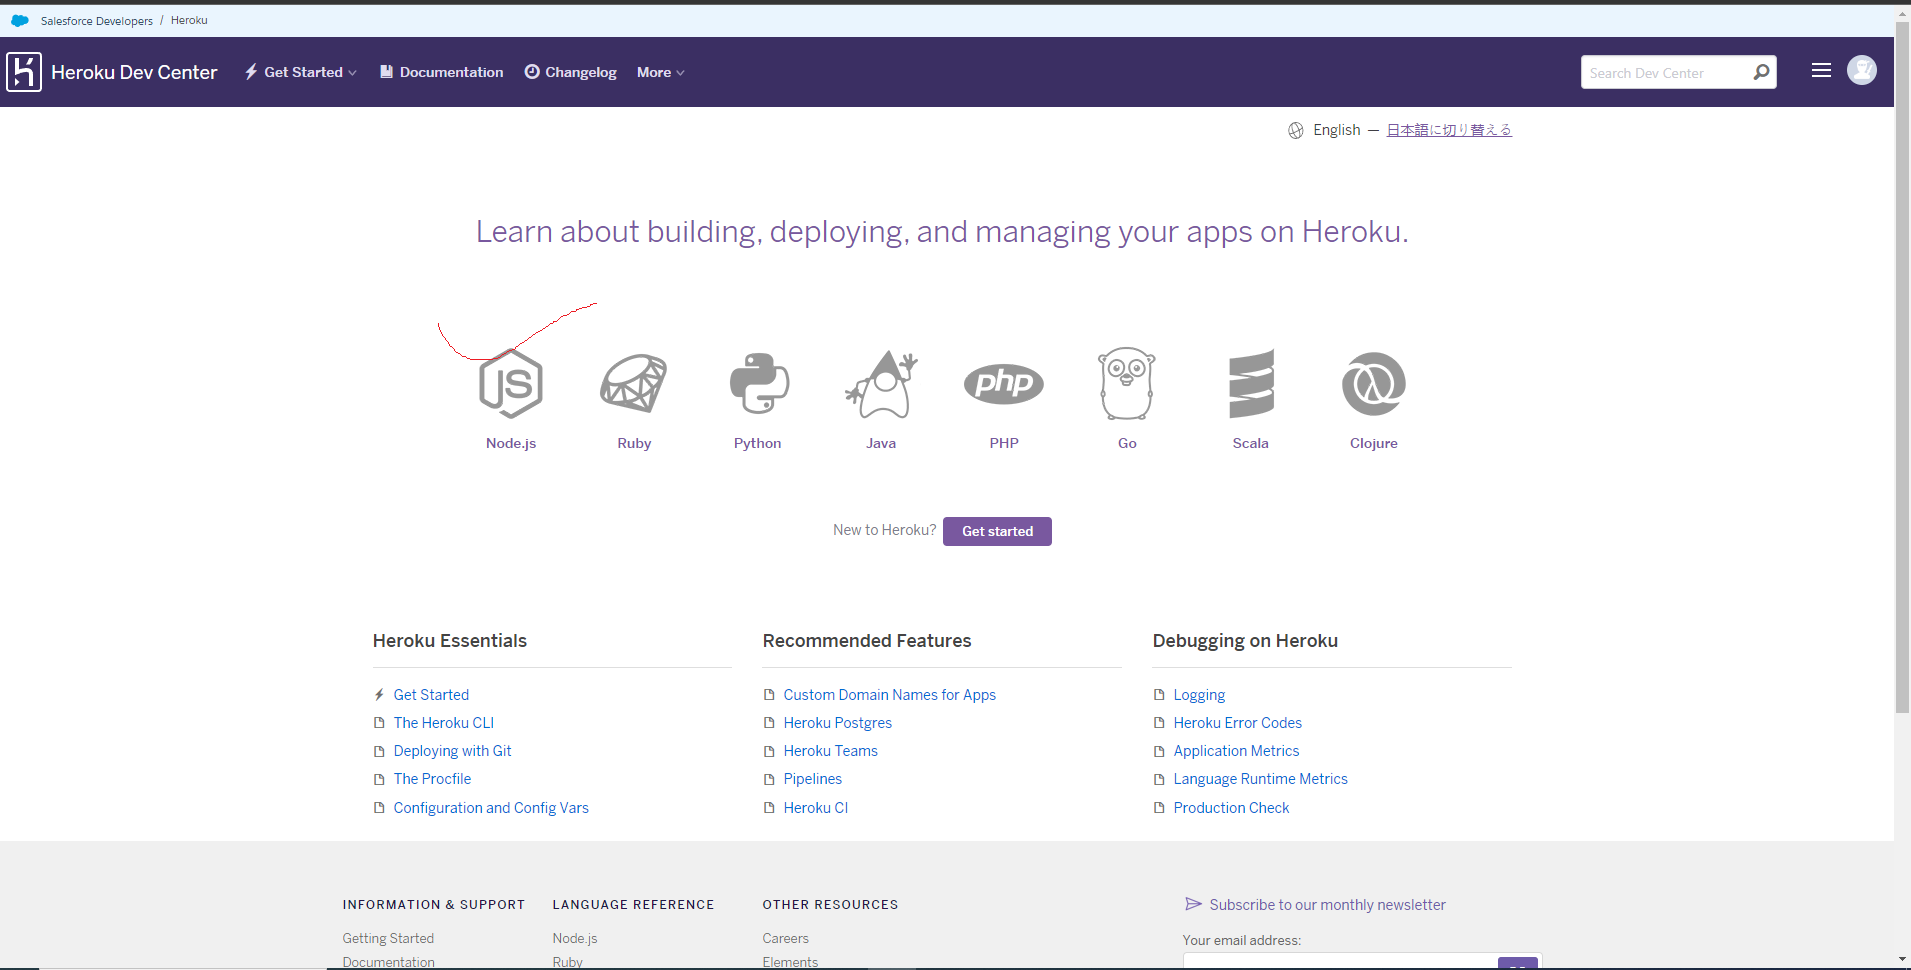
Click on the Node JS icon It will open a new tab
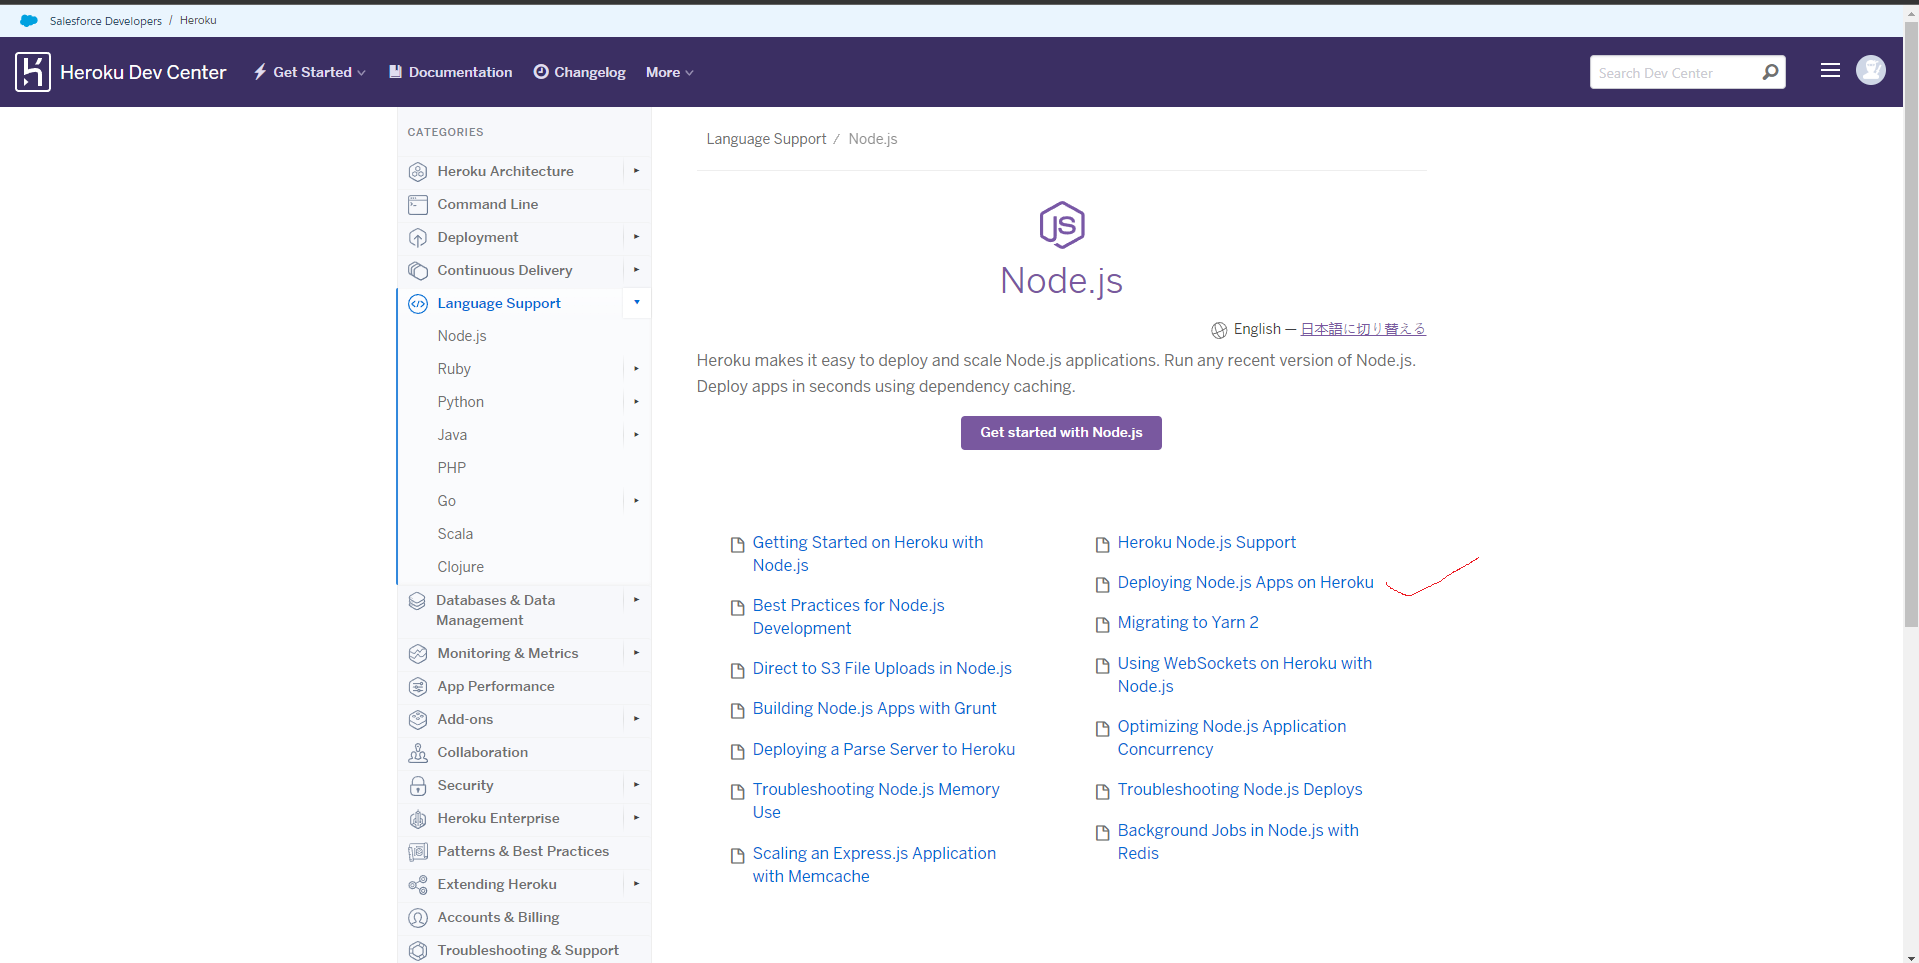
Then click the link Deploying Node.js Apps on Heroku
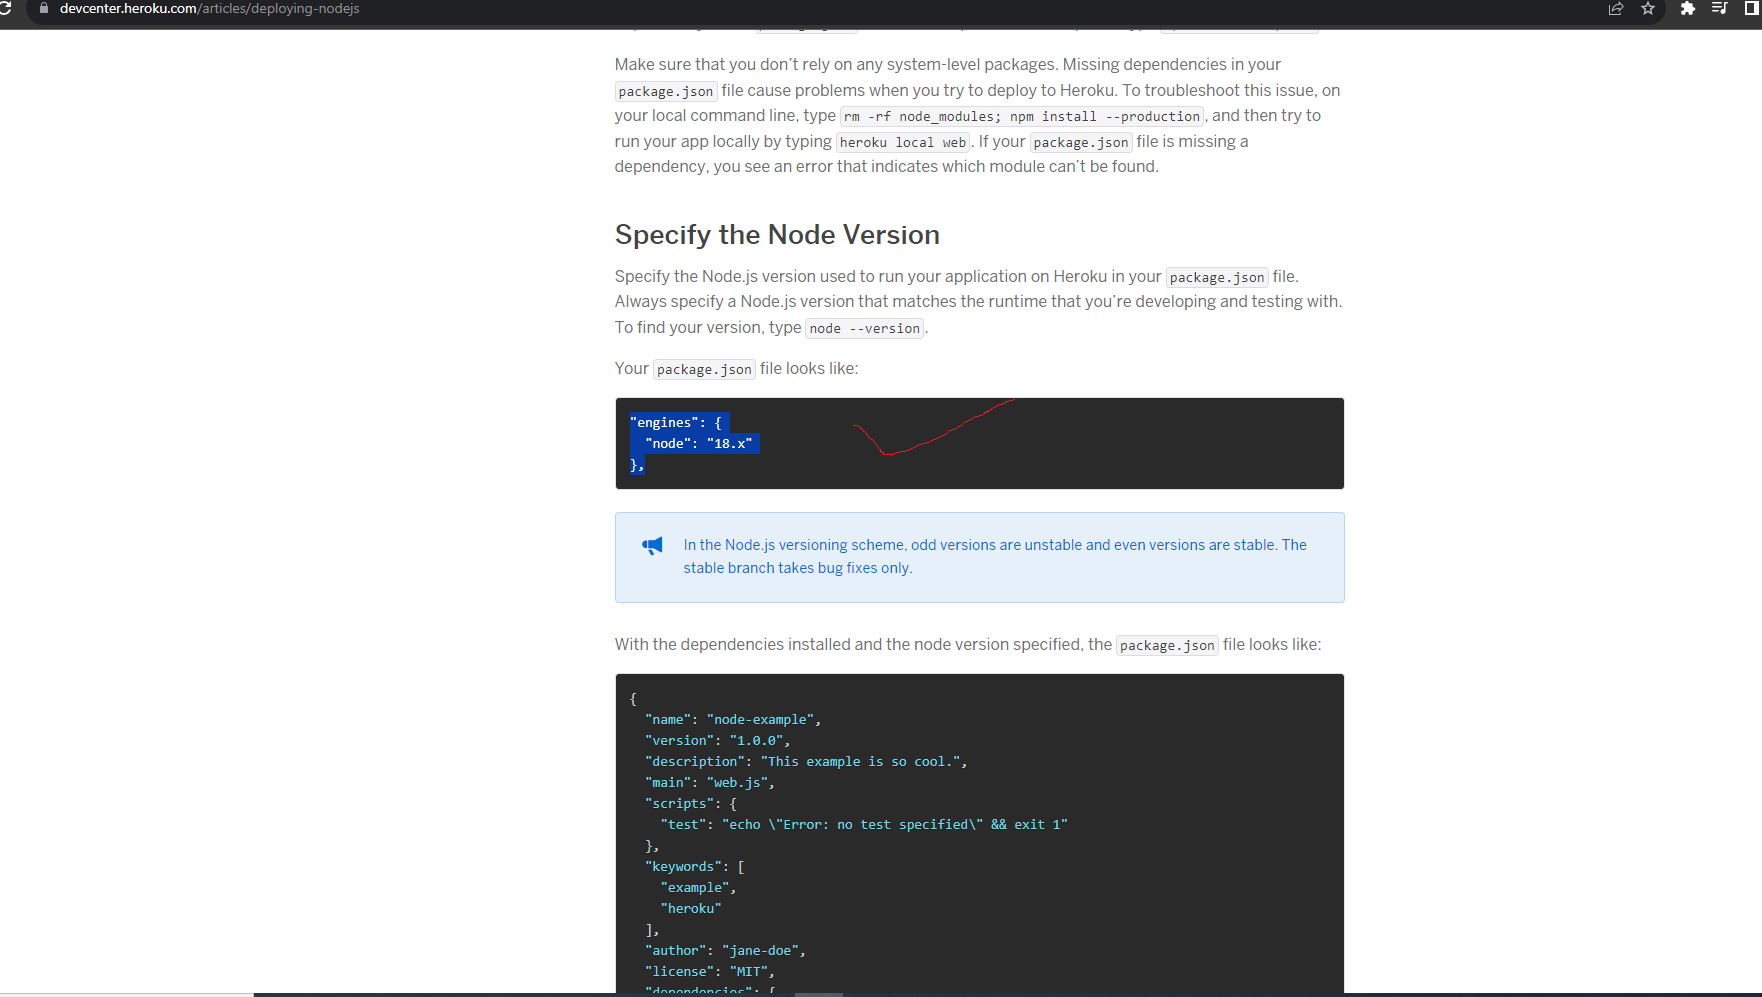
After opening the deploy node-js page scroll down then the specified version of the node copy and past into your package.json file
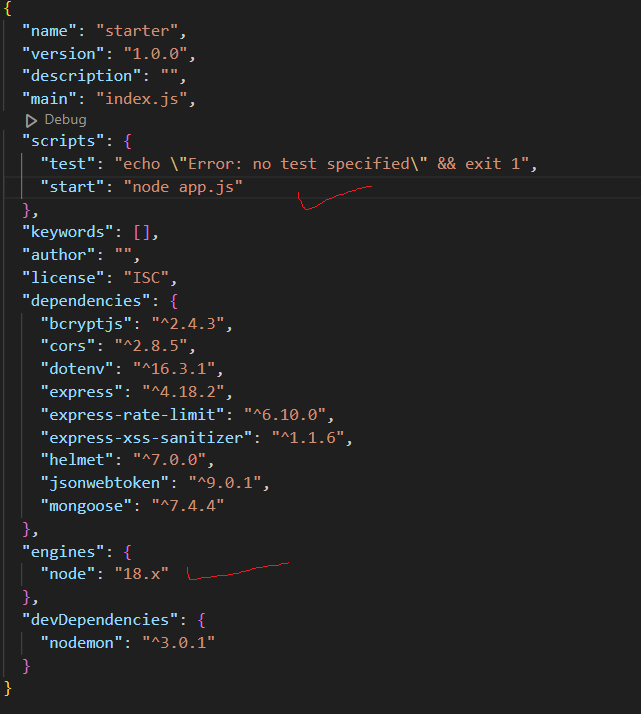
Past engines here and also in the start script must be put node app.js in my case app.js you put your server file.
note:
1. Check your node version then past engines
2. If you setup nodmon remove then nodemon from the scripts
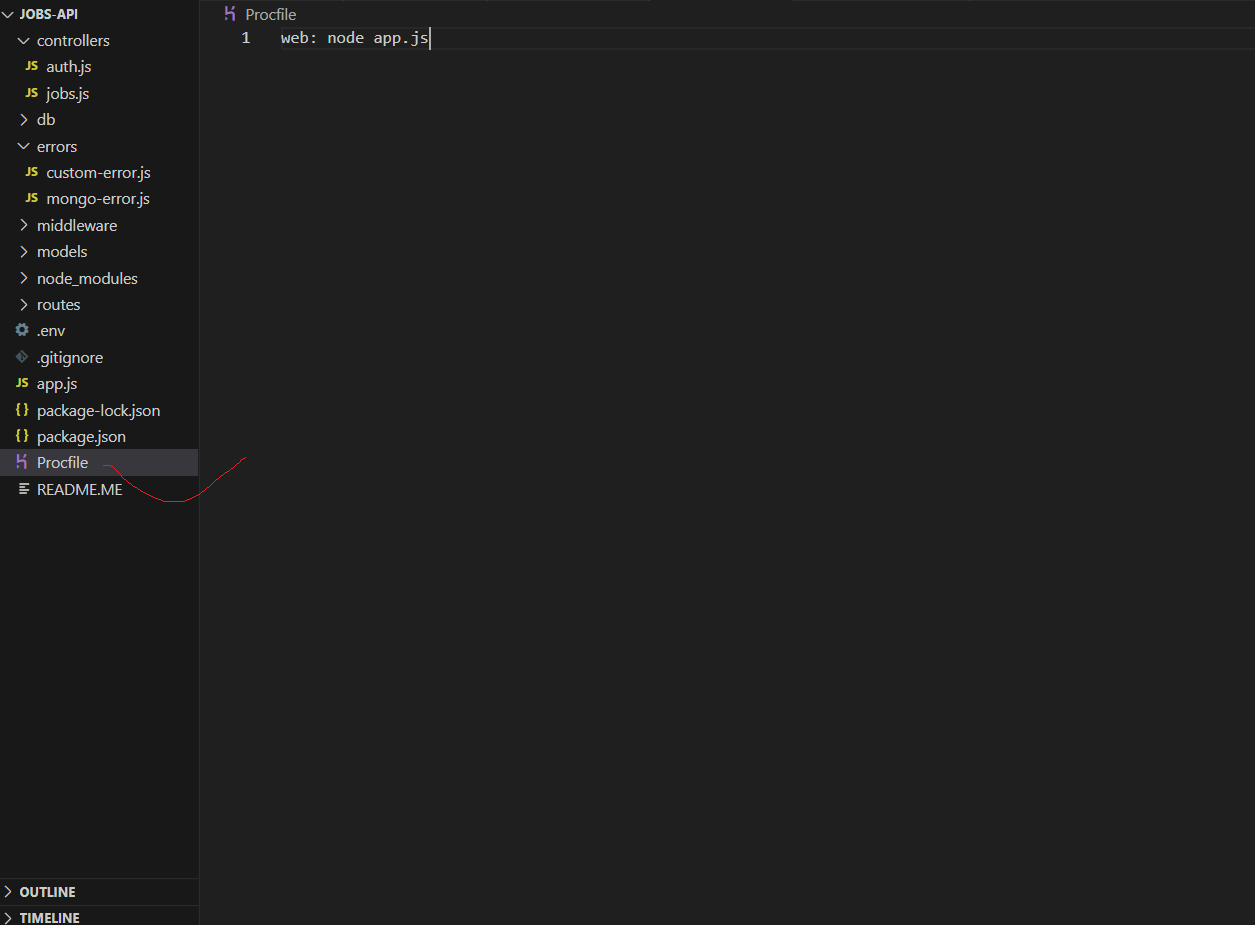
You may create Procfile. Heroku first looks for a Procfile file if does not exist, go to the script and start in the package.json file.


Go through the git initialization process

Type heroku login then type any key on your keyboard it will redirect to the browser Heroku login UI.
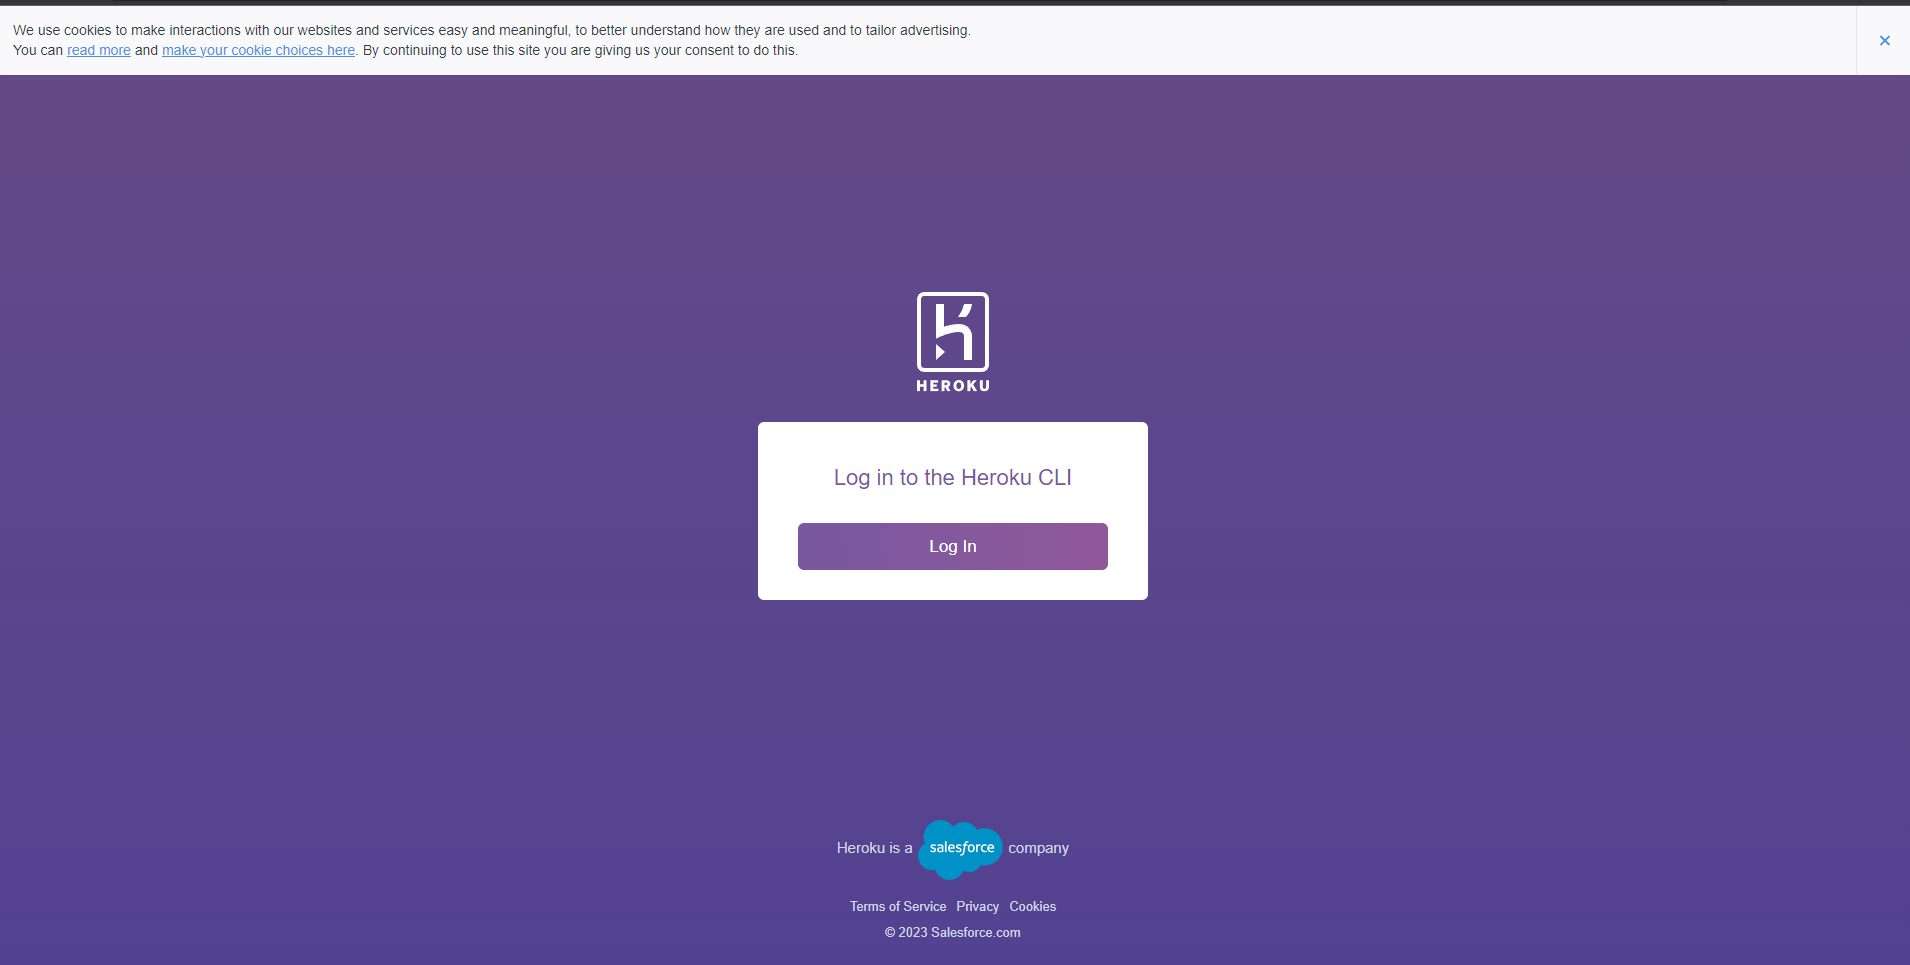
Hit login button

Go back to your code editor you can see logging done

After login create your app on Heroku by typing heroku create your app name.

The last step push the code to Heroku. Then hit your app URL provided by Heroku, you will see your app live.

